Installation
Windows
- After the download completes, open the folder where the file was downloaded.
- Double-click the downloaded file to start the installation.
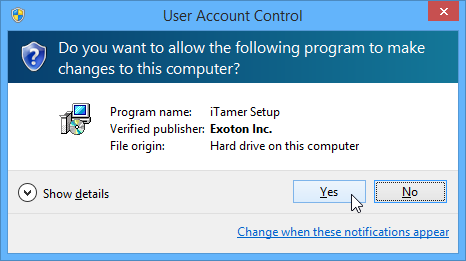
- Click Yes on the User Account Control screen if it appears.
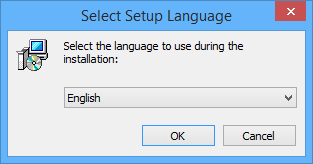
- Select the setup language and click OK.
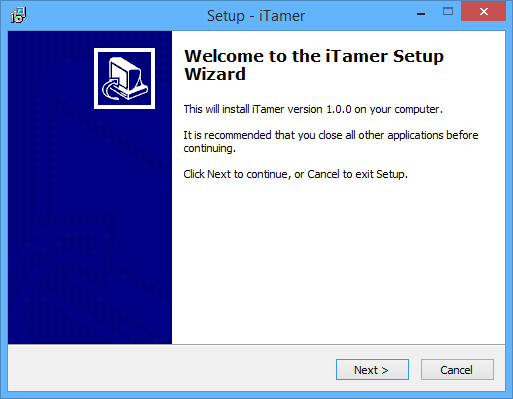
- Click Next on the Welcome Setup Wizard screen and on the following screens.
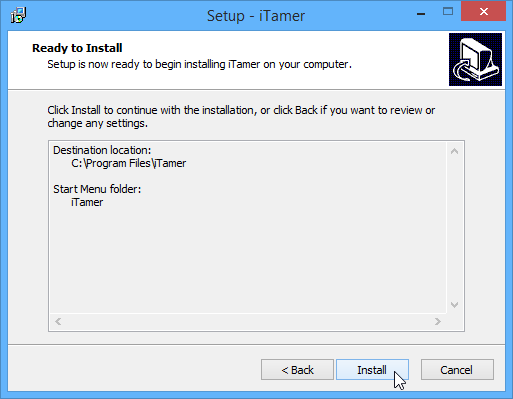
- Click Install on the Ready To Install screen.
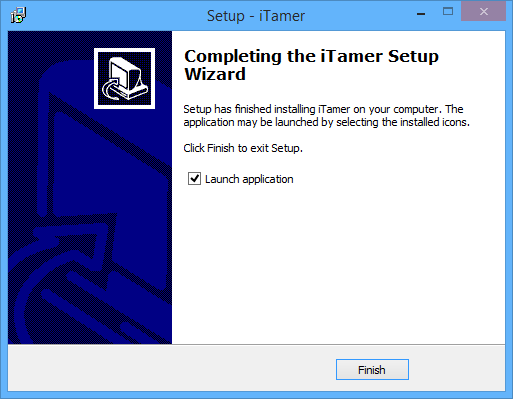
- Wait for the installation to finish and click Finish to run iTamer for the first time.
Mac
- After the download completes, open the folder where the file was downloaded. The default location is the Downloads folder for the user account on the Mac (Finder > Downloads).
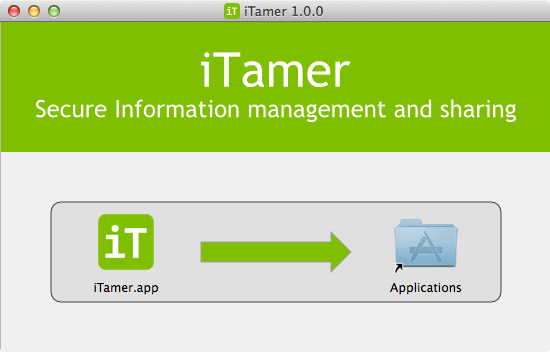
- Double-click the downloaded file to start the installation.
- Drag the iTamer icon to the Applications icon and drop it.
- When you see the application downloaded from the Internet warning, click Open.
Linux
- After the download completes, open the folder where the file was downloaded.
- Extract the application from the downloaded archive file to the folder in your PATH (~/bin).
Running for the first time
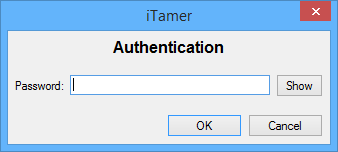
When you run iTamer for the first time, you will be asked to create and to confirm a master password.
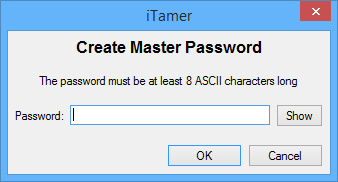
The master password is used for authentication and for configuration encryption. You can change your master password using the main menu (File > Change Master Password).
On the first run, iTamer creates a default database (named Private) with several tags.
You can rename and/or delete the pre-defined tags and create new tags. To rename a tag, click on the currently selected tag to enter the “Edit” mode. You can rename a database in the same way you rename a tag - select and click.
You can use a Tab key to move focus from one pane to another.
Registration
Several of the iTamer’s features (application updates, database sync, etc.) will be available only after the registration. To register your copy of iTamer use the main menu (File > Register). As a safety feature, you are required to authenticate yourself with the master password first.
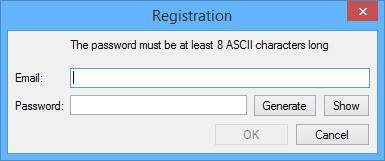
The email that you’ve provided when you’ve purchased iTamer, was used to create your iTamer Account. That’s the email that you must enter on the registration screen. At first, there is no password associated with your account. The password is added to your account after the first successful registration. So if this is your first registration, you must choose the password for your account. Please note that our server does not store your password, and we will not be able to provide it to you in case you forget it. If you forget your password, we will reset your registration.
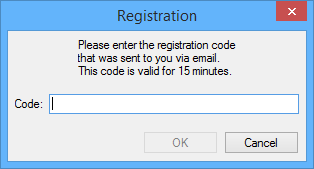
If there is no password associated with your account (the first registration or after it was reset), you will be presented with another screen where you must enter the registration code that was sent to you via email.
If you ever need to see your registration email and password, just open this dialog box again. The input fields will contain the current values.
All communication between iTamer application and iTamer servers is encrypted using AES-256 cipher.
Databases
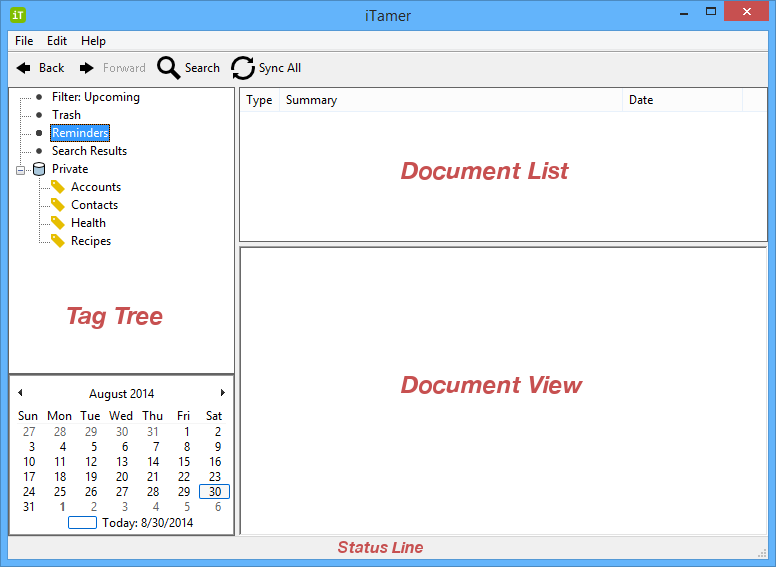
iTamer keeps your documents in databases. You can see databases as roots of tag trees (see Tags) in the left-side pane of iTamer’s window. You can mount multiple databases but each document (see Documents) can belong to one database only.
Each database has its own password that is used for data encryption. When it comes to the database password, iTamer has very strict requirements. The password must be at least 12 ASCII characters long and contain at least one upper case letter, one lower case letter and one digit. You can use the iTamer’s random password generator to create a strong password that satisfies all these requirements. The password must be strong because the database may be hosted on the iTamer server. The password for the default database is automatically generated. All database passwords are protected by your master password. If you think that the database password was compromised, you can change it, but see the note at the end of this section.
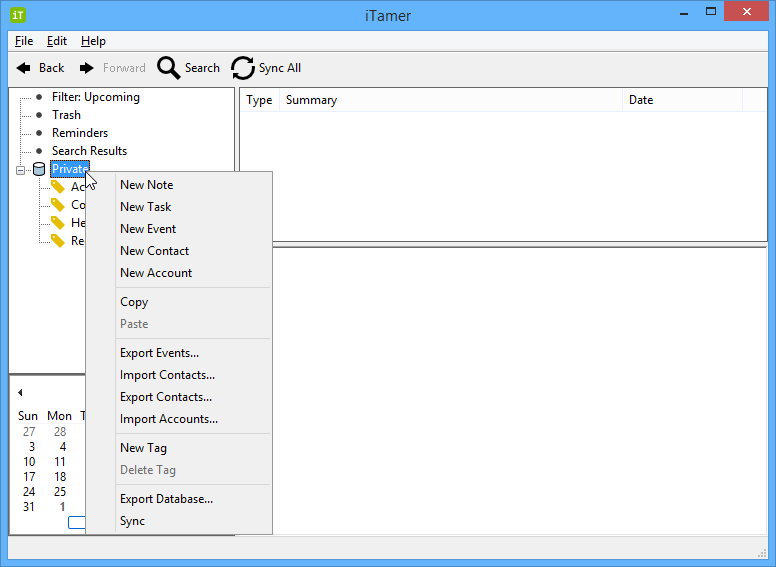
You can access your database configuration and perform various database operations from the main menu (File > Database Manager). On the screen shot below you can see the database manager with a context menu after the right-click on the database.
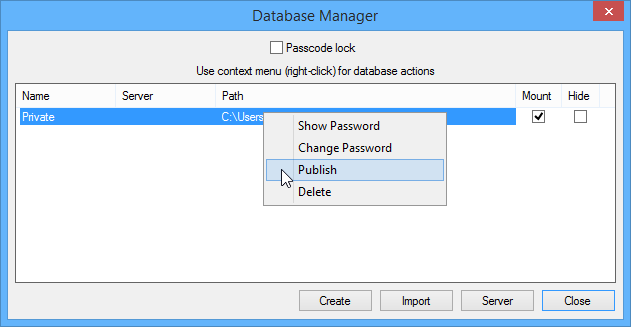
- Passcode lock check box is used to protect the database manager by requiring authorization with a master password for extra security. If others will get access to your database and to that database’s password, they will be able (using some tricks) to access documents in that database with their copy of iTamer.
- Name is the local database name that can be different from the name of that database on the server if you rename it after publishing or cloning.
- Server is the name of the database on the server. It will be the name of that database at the time it was published.
- Path is the path to the folder holding the database. The folder name is randomly generated so that you can have two or more databases with the same local name. You can change the location where random database folders are generated by changing the Database Location configuration option.
- Mount check box is used to select a subset of your databases that you want to mount when you run iTamer.
- Hide check box is used to select databases whose documents will be instantly hidden/shown when you press a keyboard shortcut or select Edit > Show / Hide from the main menu.
- Create button is used to create a new database.
- Import button is used to import a database (by cloning it from the server) that was previously exported by you or another iTamer user. This is how database sharing is accomplished.
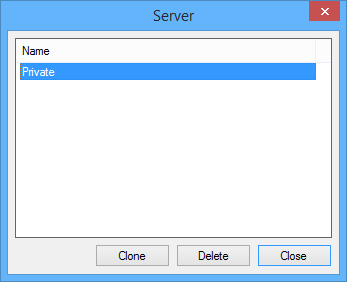
Server button will be enabled only after the registration but you must be subscribed to the data hosting and synchronization plan to make real use of it. It will open a window with a list of all your databases hosted on the iTamer server. The following screen shot shows that window after you’ve published your default database. You need to publish a database to the server to make it available for cloning and synchronization from all your devices that run iTamer.
 If you decide to change the database password, all database documents and the database itself
must be re-encrypted. That causes a problem if you host this database on the server and sync from
multiple devices. For all intents and purposes it is the same as creating a new database.
That is why the re-encrypted database is disconnected from the server. Please follow this script to bring
all devices up to date.
If you decide to change the database password, all database documents and the database itself
must be re-encrypted. That causes a problem if you host this database on the server and sync from
multiple devices. For all intents and purposes it is the same as creating a new database.
That is why the re-encrypted database is disconnected from the server. Please follow this script to bring
all devices up to date.
On your current device:
- Make sure that the database is up to date. Sync all devices if necessary.
- Open the Database Manager and select the required database.
- Remember or write down the name displayed in the Server column.
- Right-click on the database and select Change Password from the context menu. Enter or generate a new password and click OK. (The database will be disconnected from the server and the name in the Server column will become empty). Remember (or write down) the new password.
- Click Server, select the disconnected database on the server screen and click Delete.
- Click Delete on the confirmation screen and then Close on the server screen.
- Right-click on the database and select Publish from the context menu.
On other devices:
- Open the Database Manager and select the required database.
- Right-click on the database and select Delete from the context menu.
- Click Delete on the confirmation screen.
- Click Server, select the database on the server screen and click Clone.
- Enter the new password and click OK and then Close on the server screen.
Tags
iTamer uses an hierarchical tag system. It means that tags can be arranged in a tree-like structure where a parent tag has any number of child tags. It’s similar to how folders are arranged in a file system, but unlike folders, tags don’t own documents - they are merely labels. Deleting a tag does not delete any documents, it just removes that tag from all documents that have it. At the root of the tag tree is a database. Documents always belong to one database but can be assigned multiple tags from that database. Databases and their tags are sorted alphabetically.
At the top of a tag view there are four virtual tags (Filter, Trash, Reminders, and Search Results in that order) that “contain” documents from all mounted databases. Virtual tags cannot be renamed or deleted.
Filter allows to select a subset of documents from all mounted databases. The name of the active filter is displayed after a colon. To change the active filter, right click on the virtual tag and select a new filter from the context menu.
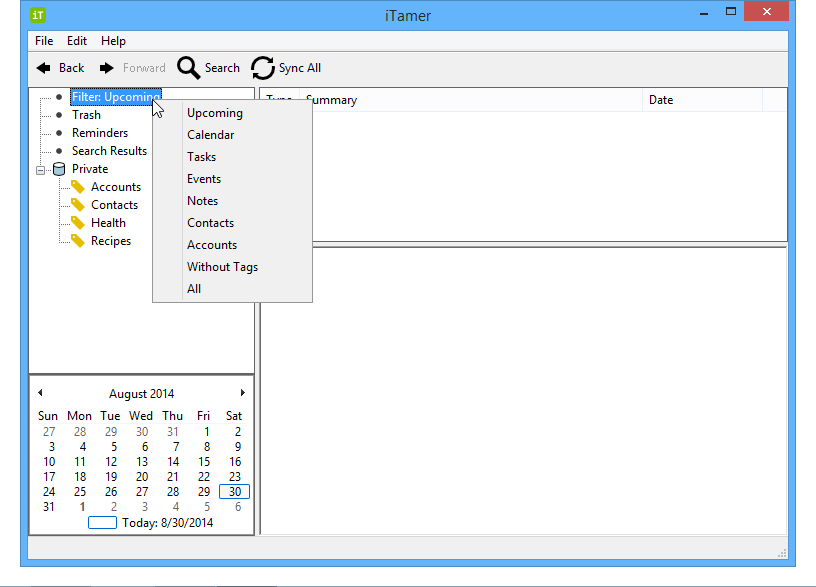
The Upcoming filter (default) selects tasks and events that are due in the next number of days that is configurable in iTamer options. The All filter selects all documents from all mounted databases. Be aware that the resulting list can be very long.
Trash contains documents that were moved to the trash (but not permanently deleted). Documents can be restored from the trash using Restore context menu item.
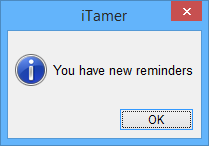
Reminders contains tasks and events whose reminder is past due. You can set a reminder when you create or edit a task or an event. When the new yet unseen reminder becomes due, an alert window is displayed.
Search Results contains documents that satisfy a search pattern. It is automatically selected after a search if at least one document was found. This list persists until the next search.
When eiher Filter:Upcoming or Reminders tag is selected, the document list is updated automatically.
Right-click on the tag or on the database to see the context menu with available actions.
Documents
iTamer supports five common document types:
Note
Task
Event
Contact
Account
iTamer uses different icon colors for different document and application states:
Task is due in less than 24 hours
Event is due in less than 24 hours
Task is past due
Event is past due
Application does not have any past due tasks or events
Application has some past due tasks or events
To create a document with the currently selected tag or database:
- Select Edit > New … from the main menu or
- Use a keyboard shortcut (Ctrl+Shift+… on Windows and Linux) or
- Right-click on a tag and select New … from the context menu.
To change a document:
- Double click on a document in the Document List or
- Select a document and press Enter or
- Right-click on a document and select Edit from the context menu.
All document dialog boxes are resizable on all desktop platforms and they open in the same size they were last closed. In addition, the content of the contact dialog box is dynamic and scrollable.
You can keep several versions of the same document. When you edit an existing document, there is a check box at the bottom of the window called Keep previous version (except for contacts). If this box is checked when you save your changes, then the version of the document as it was before you’ve made your changes will be preserved. You can see all existing versions of a document by selecting History from the document’s context menu (it will be enabled only for documents with saved versions).
Documents in the document list are always displayed in the following order:
- Tasks and events (sorted by their due date)
- Notes (sorted alphabetically)
- Contacts (sorted alphabetically)
- Accounts (sorted alphabetically)
One document can appear under multiple tags but there is only one copy of it in the database. When you delete a document in the currently selected tag (right-click on a document and select Delete from the context menu) it will disappear from all tags. You will be warned. When you create a new document, one tag is assigned to it - the one that is currently selected. To change tags that are assigned to a document, select Tags from the document’s context menu and check/clear boxes next to tag names on the dialog box.
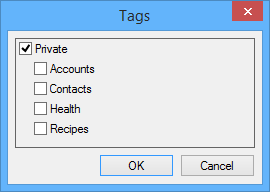
Tags on this dialog box mirror tags in the Tag Tree for the document’s database.
Calendar
Days that have tasks or events due on that date, are displayed in bold. When you click on a day, the Filter tag is set to Calendar and is automatically selected. That lets you see all tasks and events that are due on that date. Please note that only the next instance of recurring events is shown.Use Cases
Let’s look at several scenarios demonstrating some advanced features. We will create an account for your online banking and a recurring event - a credit card payment reminder. We will attach the account to the event for the convenient access to your online banking from the reminder. We will move the recurring event to the next date in its repeat cycle. Finally, we will syncronize the database to push changes to the server (assuming you are subscribed to the data hosting and synchronization plan and you have published the database).Creating an Account
Use one of the methods described above to open a New Account dialog box.
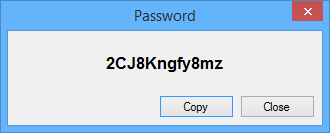
You need a strong password for your new account: a password that is not easy to guess or to discover. iTamer makes it easy by providing a random password generator. Look for the Generate button next to the password field. The screen shot below shows an account dialog box after the password generator was invoked.
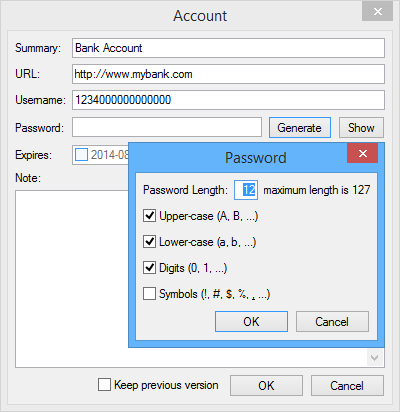
After you click OK, the generated password will be automatically copied into the password field. You can click the Show button to see the password and to verify that it meets your criteria.
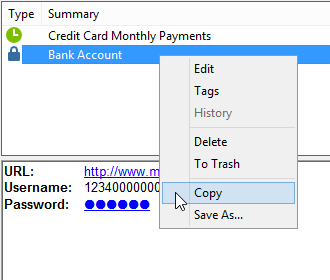
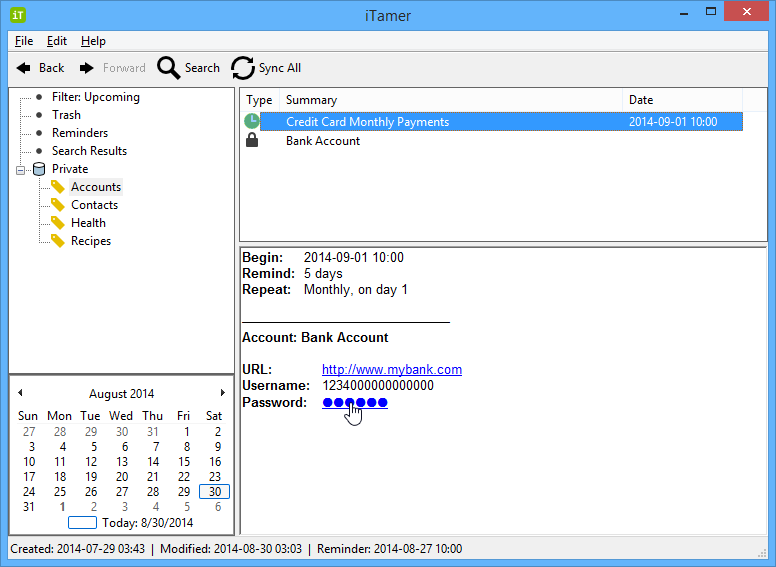
With iTamer you don’t have to worry about remembering your passwords. You don’t even need to see them. When you click on the URL of an account in the Document View to open it in your default web browser, the password is automatically copied to the clipboard. There are also keyboard shortcuts to copy a username (Ctrl+U) or a password (Ctrl+P). You can also do it from the main menu (Edit > Copy Username and Edit > Copy Password).
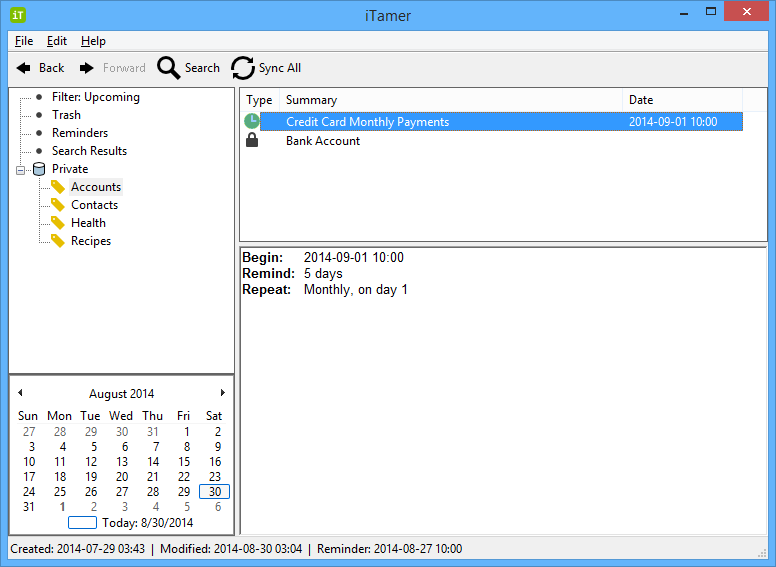
Fill out the rest of the form and click OK. This is our new main window.
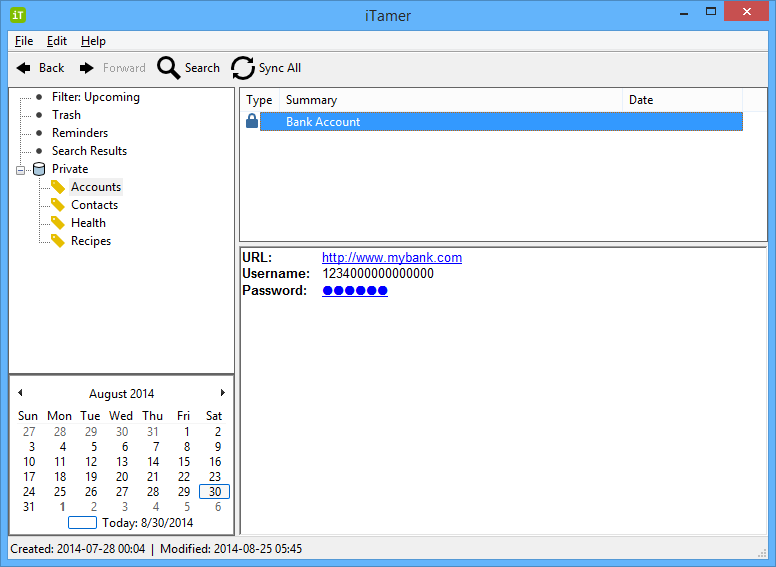
You can click on the hidden password to see it:
Creating an Event
Use one of the methods described above to open a New Event dialog box.
Use Left and Right arrows to move between date components. Use Up and Down arrows to increase/decrease their values or just type in a new value.
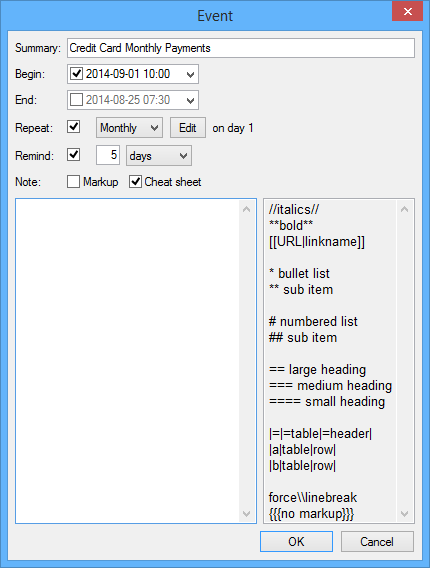
Notes, tasks, and events have Markup and Cheat sheet check boxes. Markup (unchecked by default) enables/disables text markup in the Note field of the document. It is always enabled for accounts and contacts. Cheat sheet (checked by default) shows/hides the markup help window.
Fill out the form and click OK. This is our new main window.
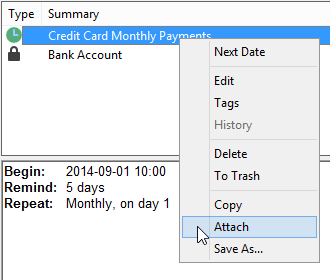
Attaching a Document
The created event will do its job and will remind us of an upcoming credit card payment, but to do a payment we need to sign in to our online banking account. We don’t want to search for an account after getting a reminder and we don’t want to duplicate the account’s data in the event. So what do we do? We attach the account to the event. We can actually attach multiple documents to any note, task, or event and we can repeat the process several times.
It’s a two-step process:
- Select the documents that you want to attach, right-click > Copy.
- Select the document that you want to attach to, right-click > Attach.
This is our new main window.
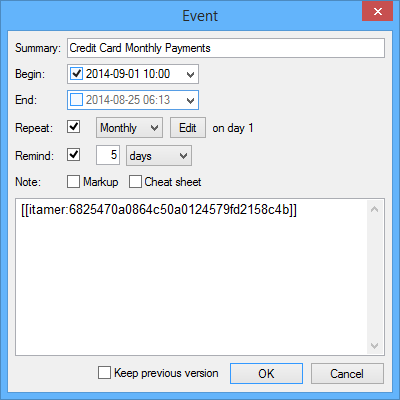
The attached document is represented as a special URL at the beginning of the event’s note, and you can remove it by deleting this URL:
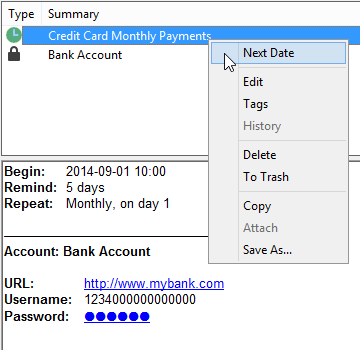
Moving a Recurring Event
Recurring events have a repeat cycle. To move the recurring event to the next Begin date in its repeat cycle you select Next Date from the event’s context menu:
Synchronization
Database synchronization is a two-way process. You synchronize to pull changes from the server (the changes that were made on other devices) and to push your local changes to the server. Even if you use iTamer on one device only, synchronization can still be useful as an efficient data backup.
To synchronize all mounted databases:
- Click on the
 toolbar icon or
 - Select File > Sync All from the main menu or
- Use a keyboard shortcut (Ctrl+Shift+S on Windows and Linux).
To synchronize one database only:
- Right-click on the database in the Tag Tree and select Sync from the context menu.
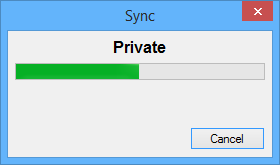
The popup dialog box will show the synchronization progress. It will automatically close after successful synchronization or show an error message if synchronization failed.
The possible conflicts are:
- You’ve made a change to the document that has a new version on the server. (Except when both versions are identical).
- You’ve made a change to the document that was deleted from the server.
- You’ve deleted the document that has a new version on the server.
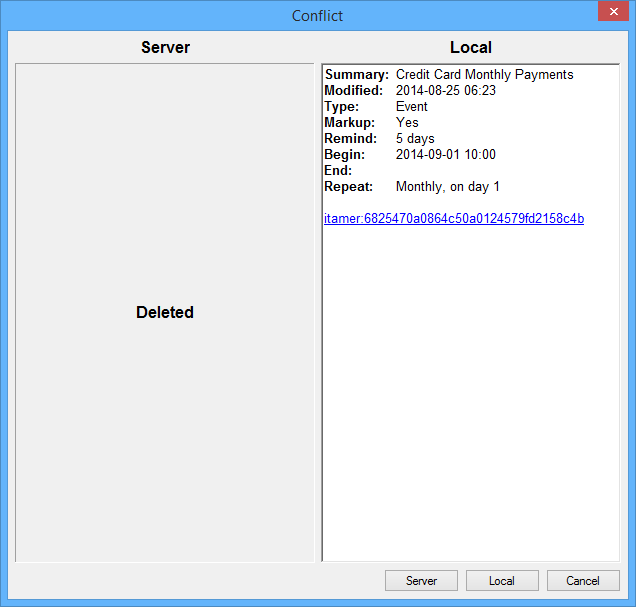
To resolve the conflict, you will have to choose between the two different versions of the document or to decide if you want to keep the changed document or to delete it.
- If you click the Server button, you will delete the document, discarding your local changes.
- If you click the Local button, you will push the local version to the server, restoring the document.
- If you click the Cancel button, the synchronization process will terminate with a failure and local data will stay intact.
To avoid any possibility of conflicts follow this simple rule: synchronize to pull changes from the server when you start using iTamer on a device and synchronize to push changes to the sever when you finish using iTamer on a device.
After successful synchronization, the database change history is cleared (Undo and Redo main menu items will be disabled).
Options
To change iTamer options on Windows:
- Select Edit > Options from the main menu or
- Use a keyboard shortcut Ctrl+E.
There are two sections - General and Security:
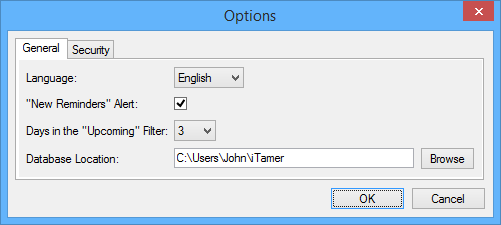
You can change the language of the user interface at any time independently of the operating system language (except for iOS). iTamer currently supports English, French, German, and Spanish as the user interface language.
Tasks and events can have reminders. When there is a new reminder, iTamer shows a popup dialog box. To disable this functionality, uncheck the New Reminders Alert configuration option.
Filter is the first virtual tag in the Tag Tree. The first filter option is Upcoming. The next configuration option allows you to control how many days to include in this filter. The default value is three days. It means that in the Upcoming filter tag you’ll see all tasks and events (including birthdays from your contacts) that are due in the next three days.
The Database Location configuration option allows you to set the path under which the new databases will be created. It does not change the location of your existing databases that you can check using the database manager.
The Security section has only one option:
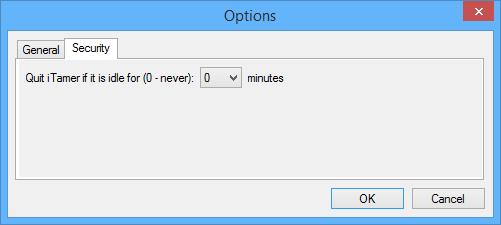
It allows to quit iTamer if you are not using your computer for some time. It’s the same logic that is used by screen savers.
Updates
iTamer automatically checks for updates on each startup and every eight hours while it is running. If the check fails because of a networking problem, it will try again in five minutes.
To manually check for updates, select File > Check for Updates… from the main menu.
If an update is available you will see the update information screen:
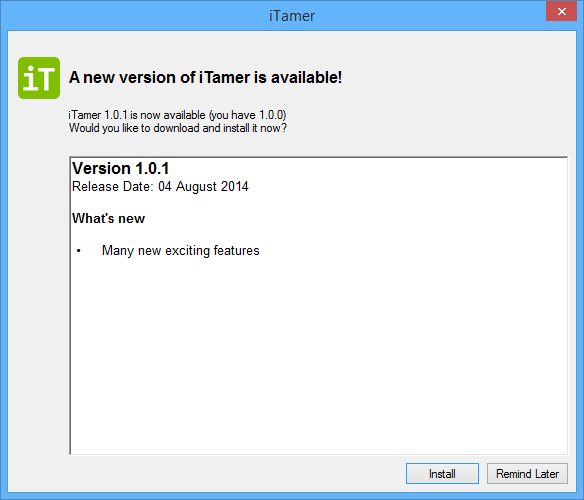
- If you click the Install button, the new version will be downloaded and installed and iTamer will restart.
- If you click the Remind Later button, the new version will not be downloaded and you will not be reminded again untill you restart iTamer.
Import/Export
iTamer can import contacts from a file in the vCard format. The file must contain valid UTF-8 data. Below are the instructions on how to create the vCard file in Gmail and Outlook. Because Outlook can export only one contact at a time in the vCard format, the iTamer installer for Windows includes an application that allows you to export all contacts from the default Outlook database (message store).Importing Gmail Contacts
To import Gmail contacts:
- Sign in to Gmail.
- Click Contacts along the side of any Gmail page.
- From the More actions drop-down menu, select Export….
- Choose whether to export all contacts or only one group.
- Select vCard format.
- Click Export.
- Choose Save to Disk then click OK.
- Select a location to save your file, and click OK.
- Switch to iTamer or start it.
- Select the tag that you want to assign to the imported contacts or create a new tag.
- Right-click on the tag and select Import Contacts… from the context menu.
- Navigate to the saved file and Open it.
Importing Outlook Contacts
This functionality is available in the Windows version and requires Outlook to be installed. To import Outlook contacts:
- From the Start Menu navigate to the Export Outlook contacts link in the iTamer group and click it.
- Select a location to save your file, and click OK.
- Switch to iTamer or start it.
- Select the tag that you want to assign to the imported contacts or create a new tag.
- Right-click on the tag and select Import Contacts… from the context menu.
- Navigate to the saved file and Open it.
Importing data from KeePass Password Safe
iTamer can import accounts from a file in the JSON format. JSON (JavaScript Object Notation) is a lightweight data-interchange format. Unlike vCard for business cards, it is not a file format standard for electronic accounts. At Exoton we have developed a KeePass 2 plugin that allows you to export KeePass database as a file in the JSON format suitable for iTamer import. You can download this plugin and its source code from our web site.
To import a KeePass database:
- Copy the downloaded KeePass2JSON.plgx file into the KeePass directory (where the KeePass.exe is) or any subdirectory of it.
- Restart KeePass in order to load the new plugin, and open a database.
- Select Tools > Export to JSON… from the main menu.
- Select a location to save your file, enter the file name, and click Save.
- Switch to iTamer or start it.
- Select the tag that you want to assign to the imported accounts or create a new tag.
- Right-click on the tag and select Import Accounts… from the context menu.
- Navigate to the saved file and Open it.
Don’t forget to delete the JSON file after the import.
Exporting Contacts
Contacts are exported in the vCard format. To export all contacts:
- Select File > Export Contacts… from the main menu.
- Select a location to save your file, and click Save.
To export all contacts with the specific tag:
- Right-click on the tag and select Export Contacts… from the context menu.
- Select a location to save your file, and click Save.
To export one contact:
- Right-click on the contact and select Save As… from the context menu.
- Select a location to save your file, and click Save.